
SCATT Indoor Setup Checklist: Target Detection and Calibration
Most of these fixes take under 2 minutes. Work through them before contacting support.
Use this guide if SCATT cannot detect the target, the red dot does not appear, calibration fails, or the sensor doesn’t detect any shots.
Most indoor issues come from a small number of setup conditions: target lighting, target quality, distance measurement, focus adjustment, correct angular size of your target printout, or how well the sensor is aligned with the gun’s barrel.
Find your issue first
- Red dot does not appear → Sections 1, 3, 5, 8
- Target not detected → Sections 1, 2, 6
- Calibration fails → Sections 1, 4, 5, 7
- Visible in Preview Mode but calibration fails → Section 7
- Shots missed or misregistered → Sections 5, 8
1. Light the target correctly
Ambient lights from the ceiling won’t be enough for the sensor to work consistently indoors, so a lamp directed at the paper target is a must. It has to come in the “warm” spectrum and we need to achieve at least 1000 lux evenly spread across the face of the target (no dark spots/shadows). Anything above 1500–1700 lux is pretty much excessive, so there’s no need to bring the lamp too close to the paper target or get a particularly powerful worklight setup.
Use one of these lighting options:
- Warm LED light, around 2700K;
- Incandescent light;
- Halogen light.
Avoid:
- shadows across the target;
- uneven brightness;
- the beam of light from your lamp hitting the edge of the printout rather than the bull;
- flickering (happens with low-quality LED lamps);
- placing your target printout on a window or reflective wall/surface.
2. Use a clean, flat printed target
Make the target easy for the sensor to recognize.
Make sure that the paper target is flat against the wall/surface, not wrinkled or bent, and placed on a clean background;
Do not place the target on a dark, patterned, reflective, or cluttered background. Even if the target looks clear to your eye, poor contrast can make target recognition unreliable.

3. Remove the iris diaphragm indoors
The item is designed specifically for outdoor use, to offset extreme sunlight conditions. The iris should not be used indoors, for it interferes with the sensor’s ability to see the target by aggressively cutting the camera’s FOV. After removing it, try to go through Calibration again.

4. Measure from the SCATT sensor to the target
Go ahead and measure the physical distance from your SCATT sensor to the paper target. Do not assume the distance, but actually take your time and use a measuring tape. It has to be precise. Don’t count on ‘steps’ or visual assessments.
Do not measure from your body, feet, the shooting spot, etc. Assume the shooting position, note where the sensor ends up with your rifle/arm extended, then measure the distance between the sensor and the printout; the distance for your target print-out settings has to be a perfect match - even decimals count, especially when it comes to reduced distance training (e.g. 3–5 meters).
5. Print the correct scaled target for reduced-distance training
If you practice indoors with limited space, you would need to print out a target that is scaled down using our software. Enter the previously measured distance (section 4) before hitting “Print”.
Example: if the sensor is 5.5 meters from the target, enter 5.5 in printout settings.
Your SCATT trainer expects to “see” an aiming black with the correct angular size. If you print for the wrong distance, the target will have the wrong angular size. If the discrepancy is large enough, this may prevent calibration or make your practice data inaccurate for the entire series. Open the target printing screen in your SCATT software, choose the target or event, enter the real sensor-to-target distance, and print the scaled target.
Common mistake: using a full-size target at a reduced distance. For reduced-distance training, print a target scaled for the actual distance you have available.

6. Set the focus for the real sensor-to-target distance
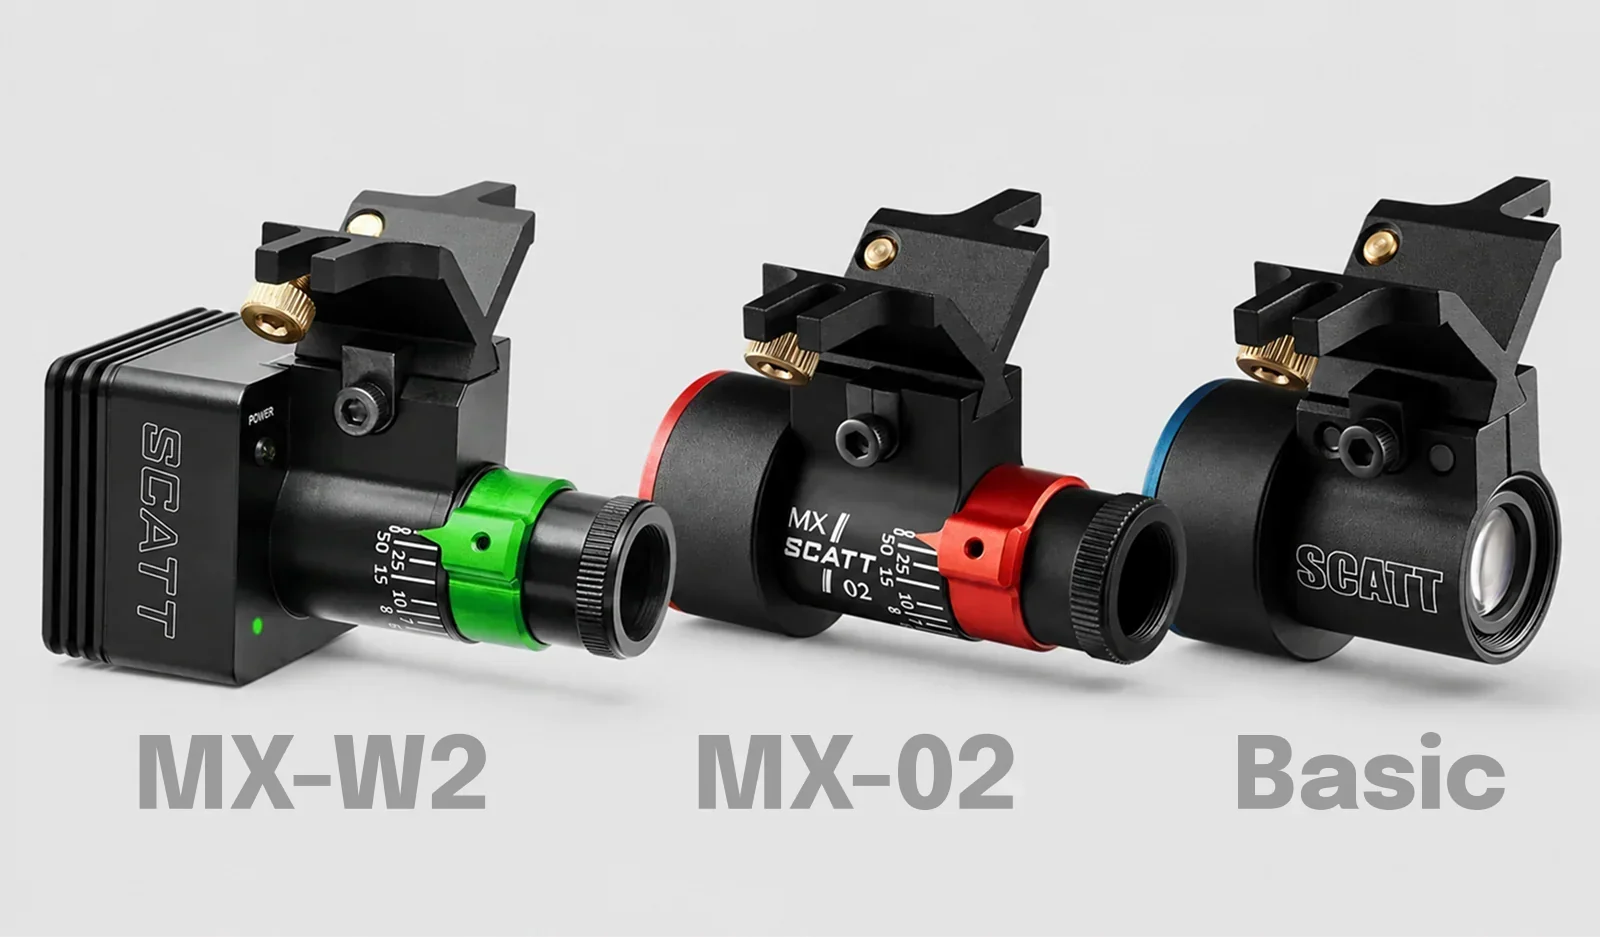
If your SCATT model is equipped with a focus ring (MX-W2, MX-02), it must be set to the physical distance that you’ve just measured and printed your paper target for (section 4).
If the focus or distance setting is off, the sensor may lose accuracy or register shots inconsistently.

7. Use Preview Mode to check sensor alignment
Use Preview Mode to check whether the target appears in the sensor’s capture area. When your sights are aimed at the target, the target should appear fairly centered in the sensor’s field of view.
If the target is centered and visible in Preview Mode, but calibration still fails, take note of the image in Preview Mode. Does it flicker or ‘blink’? Does the red dot appear when Preview Mode is disengaged, but the dot also ‘blinks’ (meaning that it shows up and disappears rapidly)? If you happen to detect a significant flicker effect at your local shooting range or at home, you might want to change the lighting (previous-generation LEDs with low-quality drivers are the main culprits here). This not only interferes with your SCATT trainer, but is also a major eye health concern and you should address it.
8. Check the sensor mounting
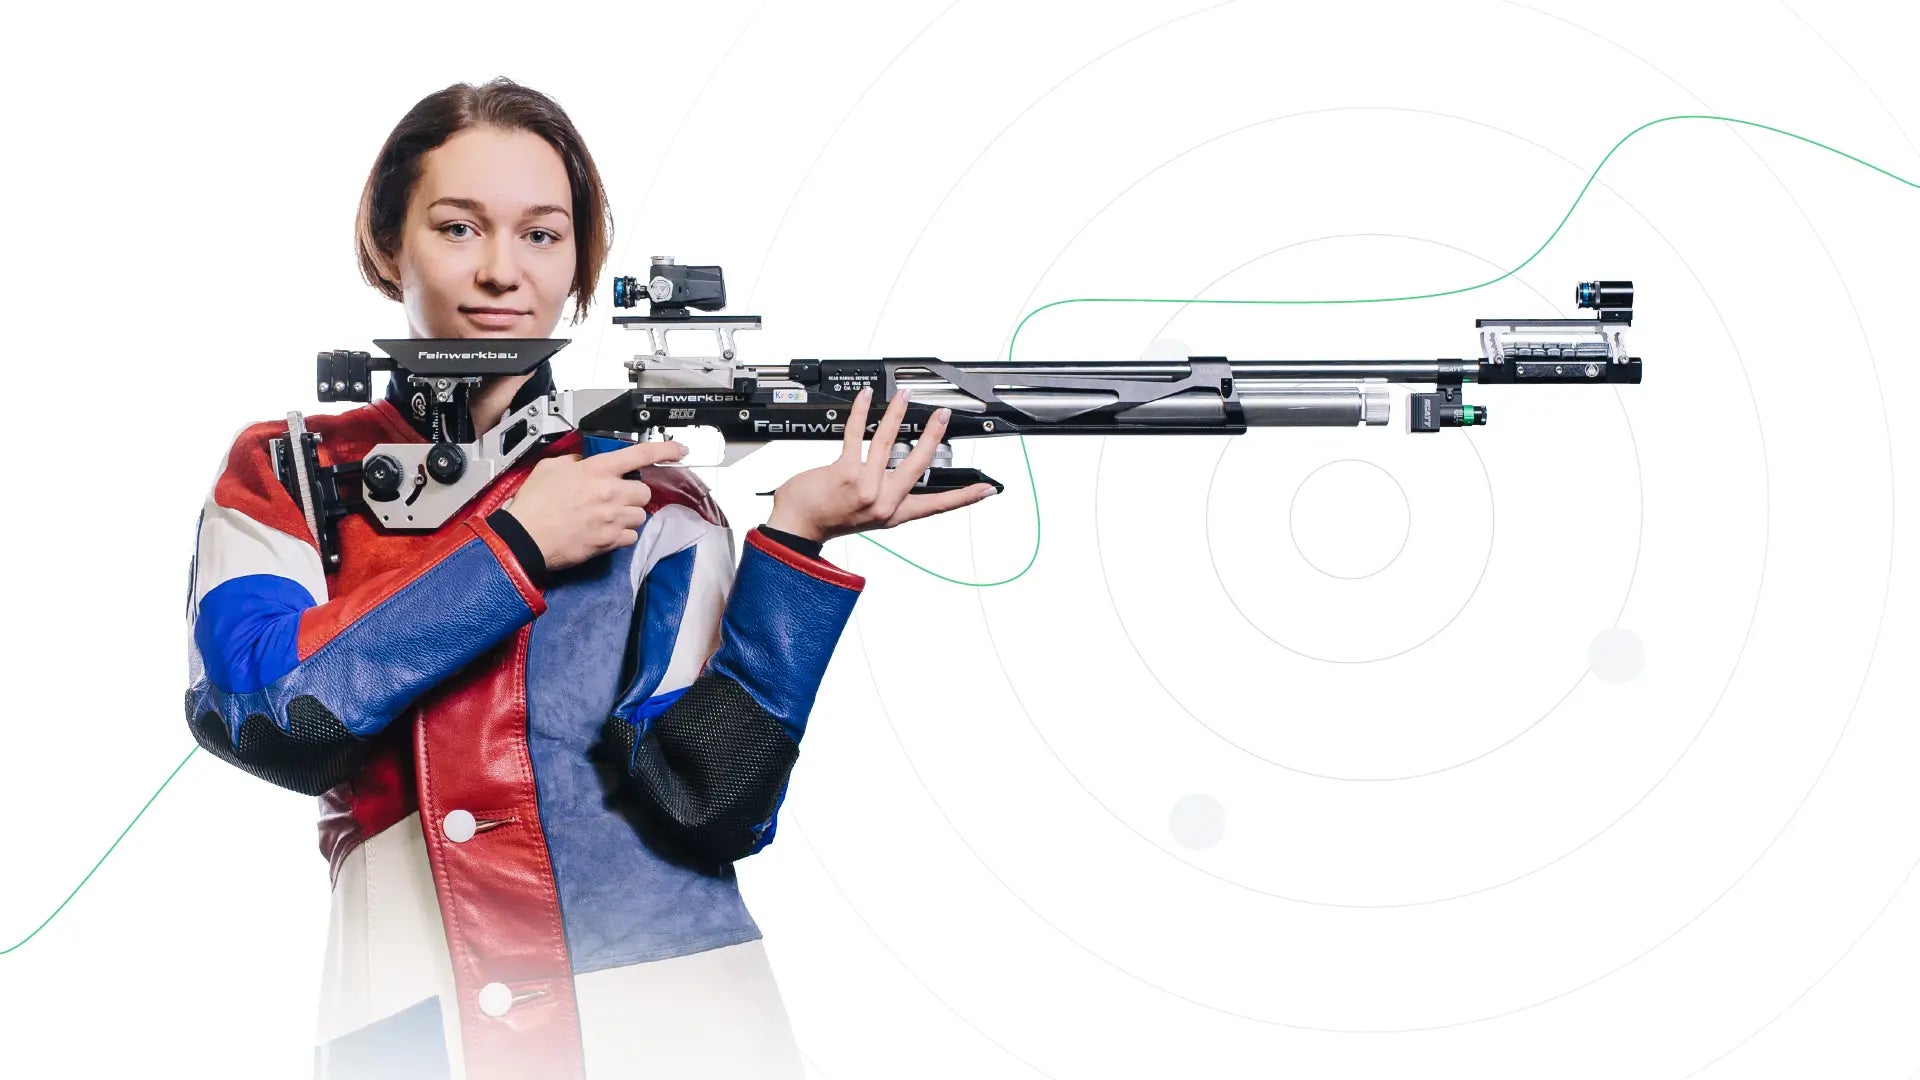
Mount the sensor tightly and position it so the target appears correctly when you aim. Keep your shooting form and habits. Don’t try to adjust to the trainer by changing your aiming pattern - we want the opposite: we want the SCATT to adjust to you.
Let’s assume that with your particular shooting style, the alignment is way off (meaning that the aiming black of the target is not well-centered in the camera’s FOV when Preview Mode is ON), you could:
- Change the mounting spot (closer to the muzzle or closer to the trigger mechanism);
- Rotate the trainer around the barrel (the device works even upside down), 11 o’clock position usually helps a lot in battling the parallax effect on shorter distances);
- Tinker with the sensor’s tilt by utilizing two brass screws inside your mounting prism. Here is a YouTube video time-stamped at 7:40.
Don’t be afraid to experiment with one or a combination of these little tricks in order to find something that would be perfect for your particular distance/gun/aiming approach.
9. Still not working? Send these details to support
After you complete the checks above, send support the full diagnostic package.
Sending these upfront usually cuts resolution time in half.
Include:
- A couple of pictures of the sensor angled from the gun’s muzzle so we see the camera’s lens. Another picture showing how the sensor is mounted on the gun, something angled from either side of the gun would work just fine.
- A couple of pictures showing how your target setup looks are most crucial. Take one picture up close (like 2 meters away) and another one from your shooting spot;
- Indicate the shooting event/target as well as your sensor-to-target distance.
- The software and device/platform you are using.
- A brief explanation of what happens during calibration.
If the issue continues after completing these checks, contact SCATT support and include the diagnostic details listed above.
Frequently asked questions
Why can I see the target in Preview Mode, but calibration still fails?
Preview Mode confirms that the target is visible to the sensor. It does not confirm that the full setup is correct. Check lighting, contrast, target scale, background, focus, and sensor-to-target distance.
Last updated: 09.09.2026Why does the red dot never appear?
Start with lighting, indoor iris use, focus distance, and sensor alignment.
Last updated: 09.09.2026Is normal room lighting enough?
Not always. Light the target directly and evenly to at least 1000 lux.
Last updated: 09.09.2026Should I use the iris diaphragm indoors?
No. Remove the iris diaphragm indoors. Use it only for bright outdoor or sunlight conditions.
Last updated: 09.09.2026Where should I measure the target distance from?
Measure from the SCATT sensor to the paper target.
Last updated: 09.09.2026